Its Valentine’s day very soon. And I’m not really a person who appreciates days that focus on “you have to buy stuff or else you’re doing it wrong” but I do very much enjoy making creative love notes for my special people.
And now I came up with a nature inspired one.
Make your own paper, laced with flower seeds. Write a note to your special person. Have them plant and water it. Watch the love note dissolve as flowers begin to grow from it.
Oh, and this is not just great for Valentine’s Day. There’s Mothers’ Day just a few months from now, but you can also use them any time as thank you notes, invitations, gift tags….
You Will Need:
- Window- / fly-screen material, or a mosquito net (in a make shift situation you could also try some loosely woven, non organic material. So polyester. Cotton may stick too much.)
- Embroidery hoop
- If fly screen and embroidery hoop is to difficult to get, follow the alternative instructions, using your hands and some parchment paper.
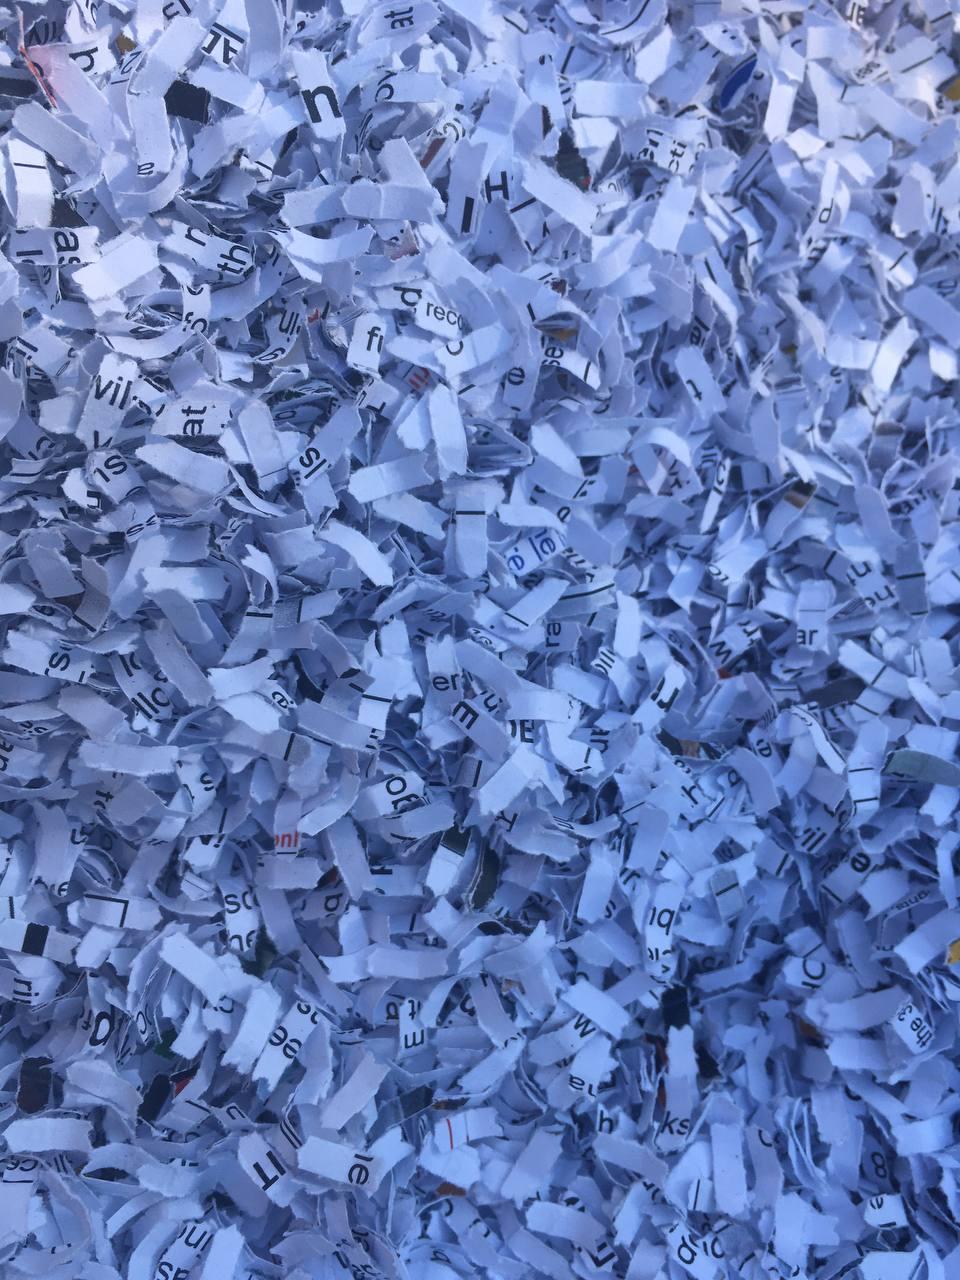
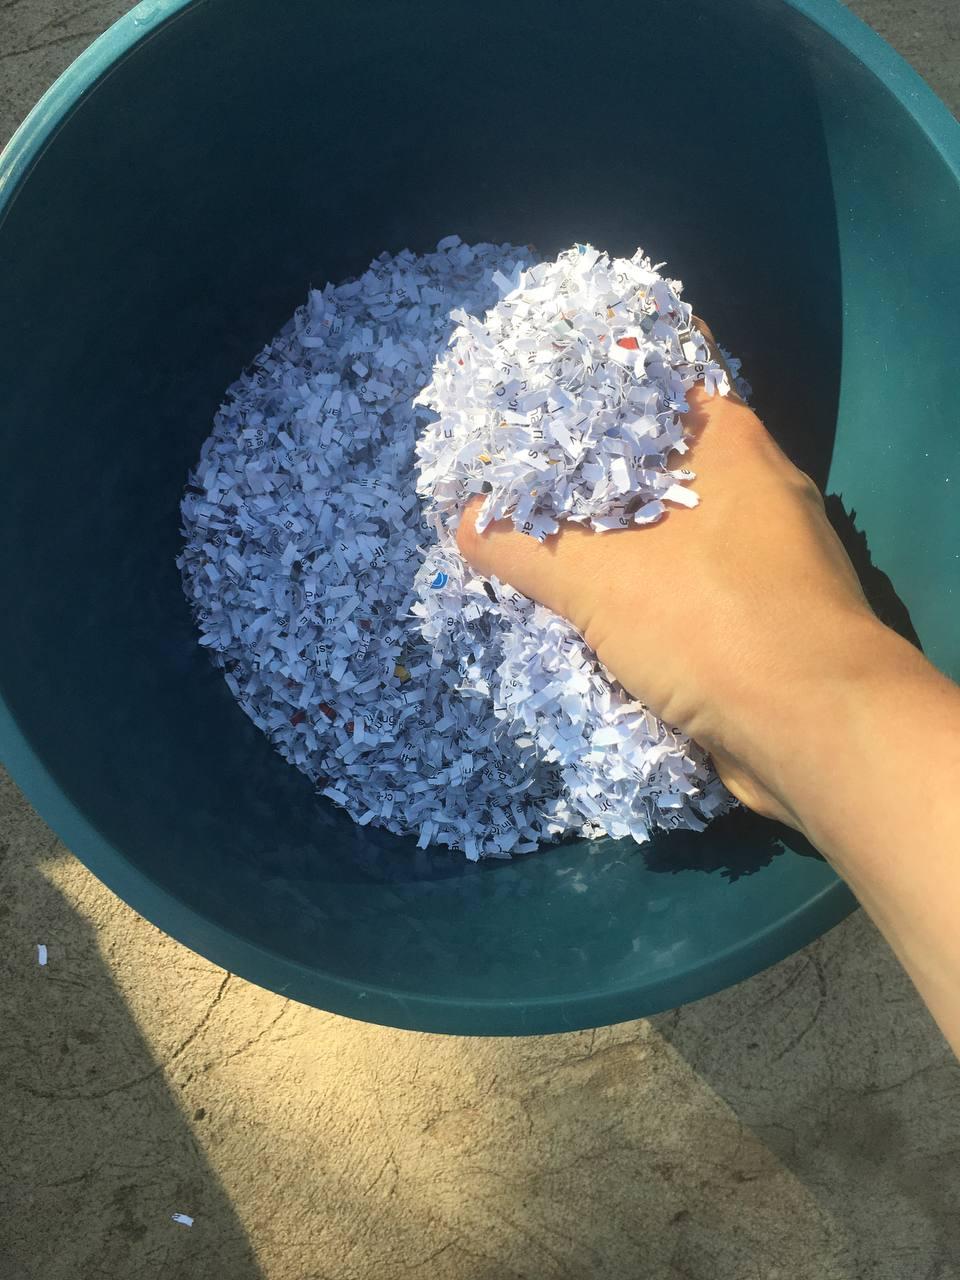
- Used paper, shredded. Ideal is news paper but if you can just empty the paper shredder at the office into your bag and take it home, perfect. I would calculate about a fist full per card.
- Large bowl of warm water
- Food coloring (optional). Red is good for valentines day.
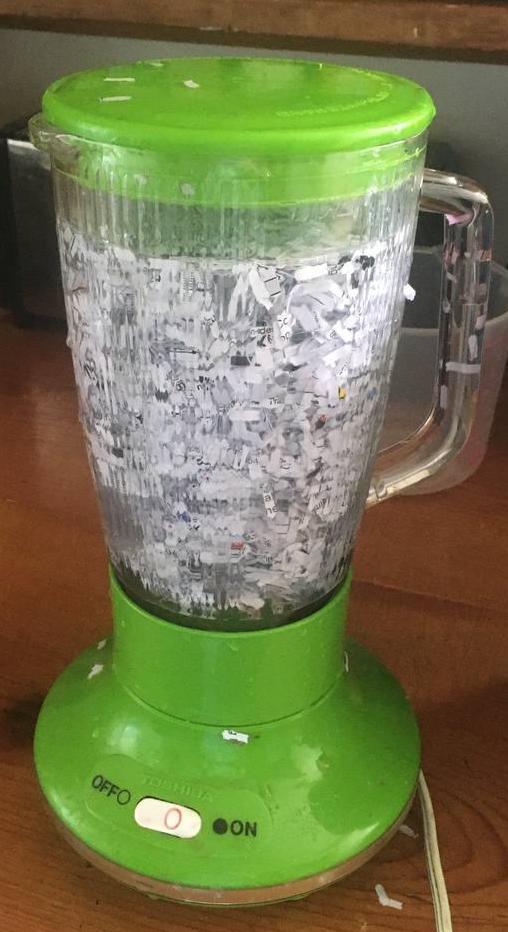
- Blender
- A wide, flat container, like a baking tray
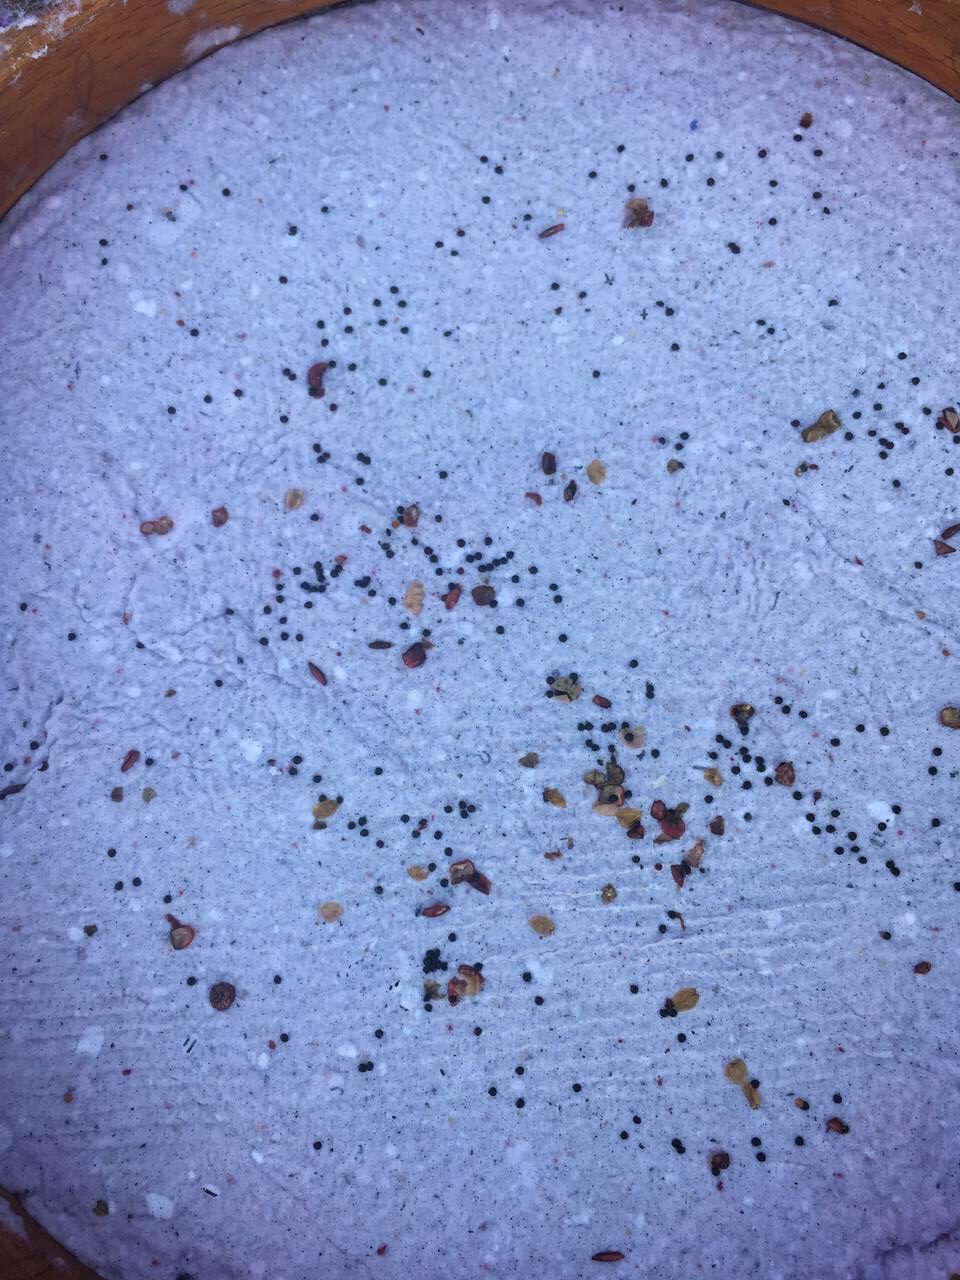
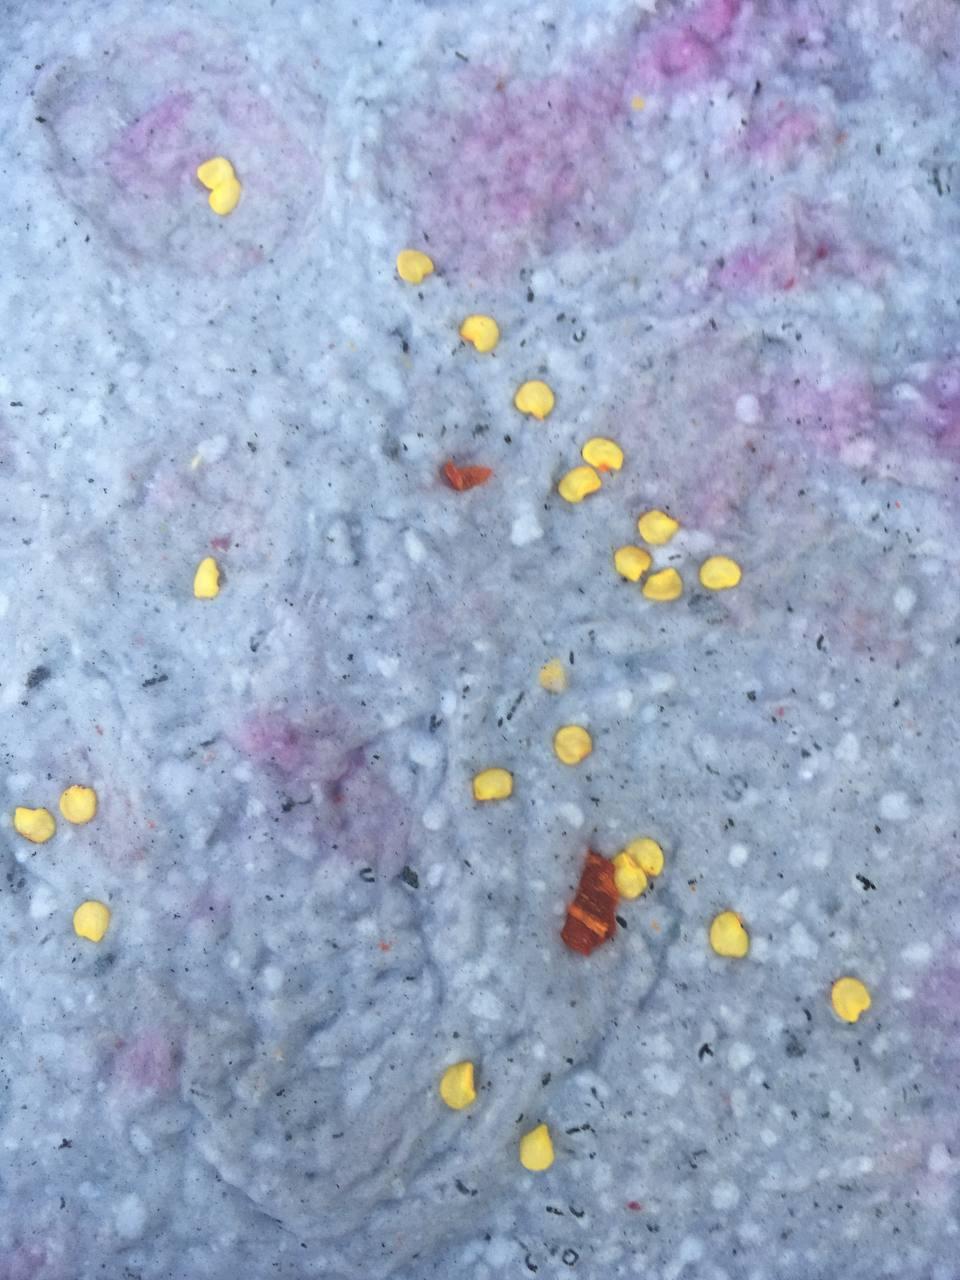
- Wildflower or other seeds. The smaller / flatter the seeds the better.
- Bath towels or rags that can soak up water well. If you’re adding food coloring, make sure it won’t stain, or use towels that you don’t mind getting stained.
- Waxed paper or parchment paper
- Scissors for cutting your card into shape
- Colored markers for writing the love note
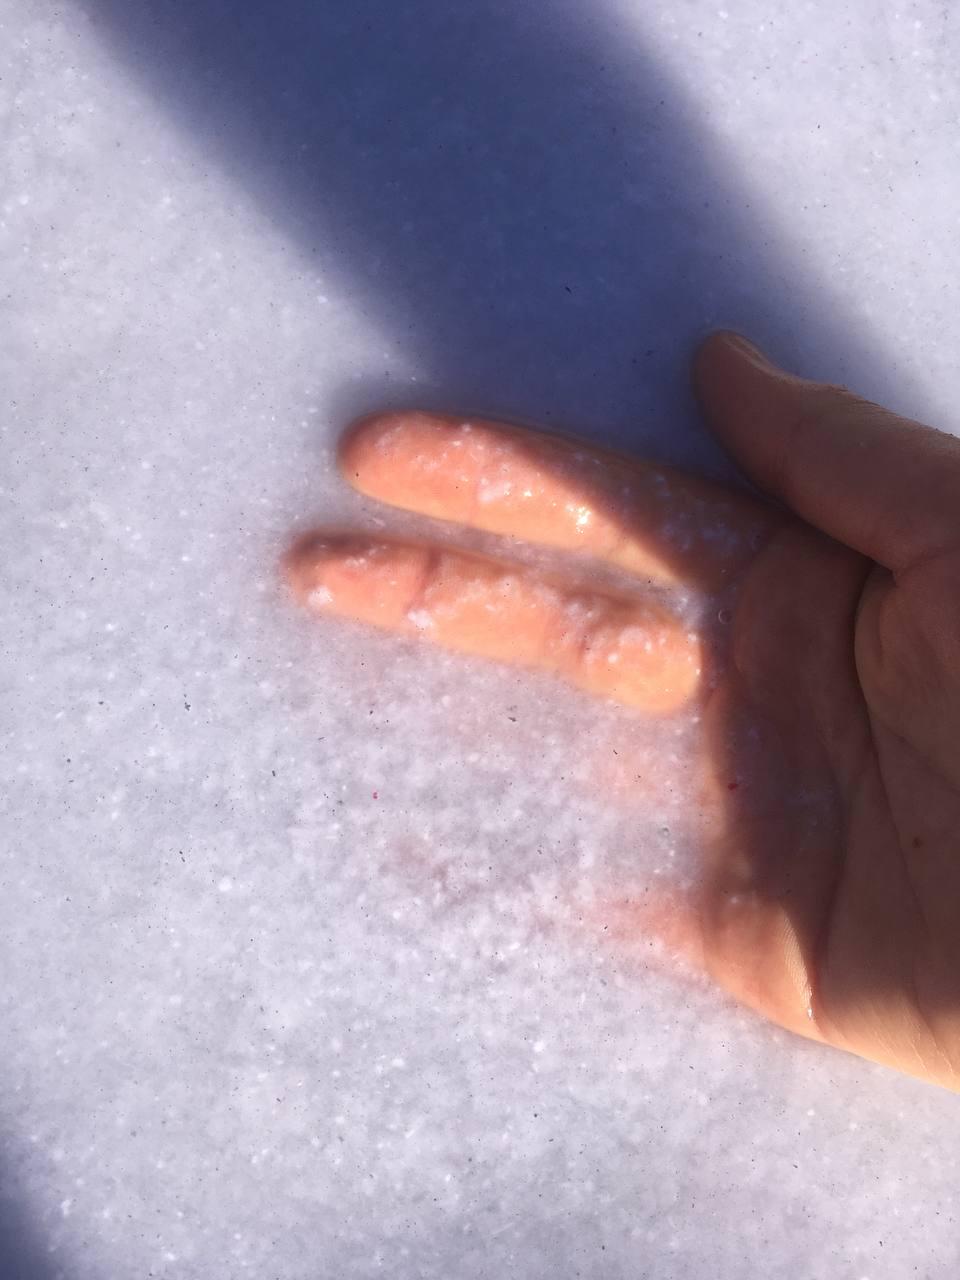
- An easy to clean area… Things will get wet. I worked outside.
How To Do It:
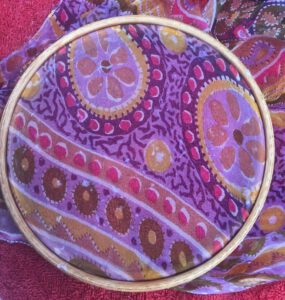
- Make a papermaking frame by inserting the fly screen into the embroidery hoop, trimming off the excess.
- Soak the shredded paper in the bowl of water overnight. If you’re in a hurry, a couple of hours will cut it. The finer your paper shredding, the less time it needs to soak.
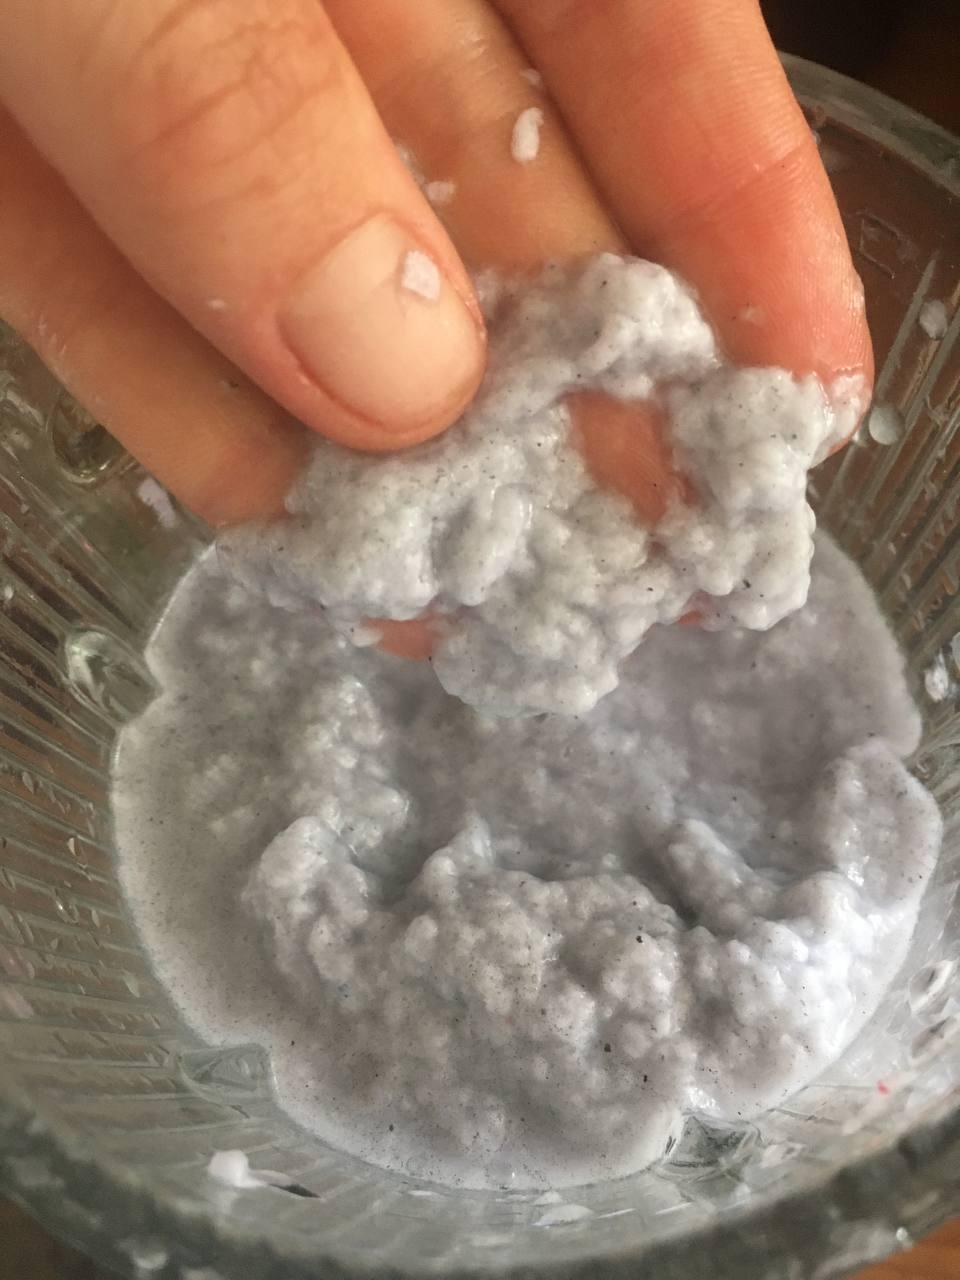
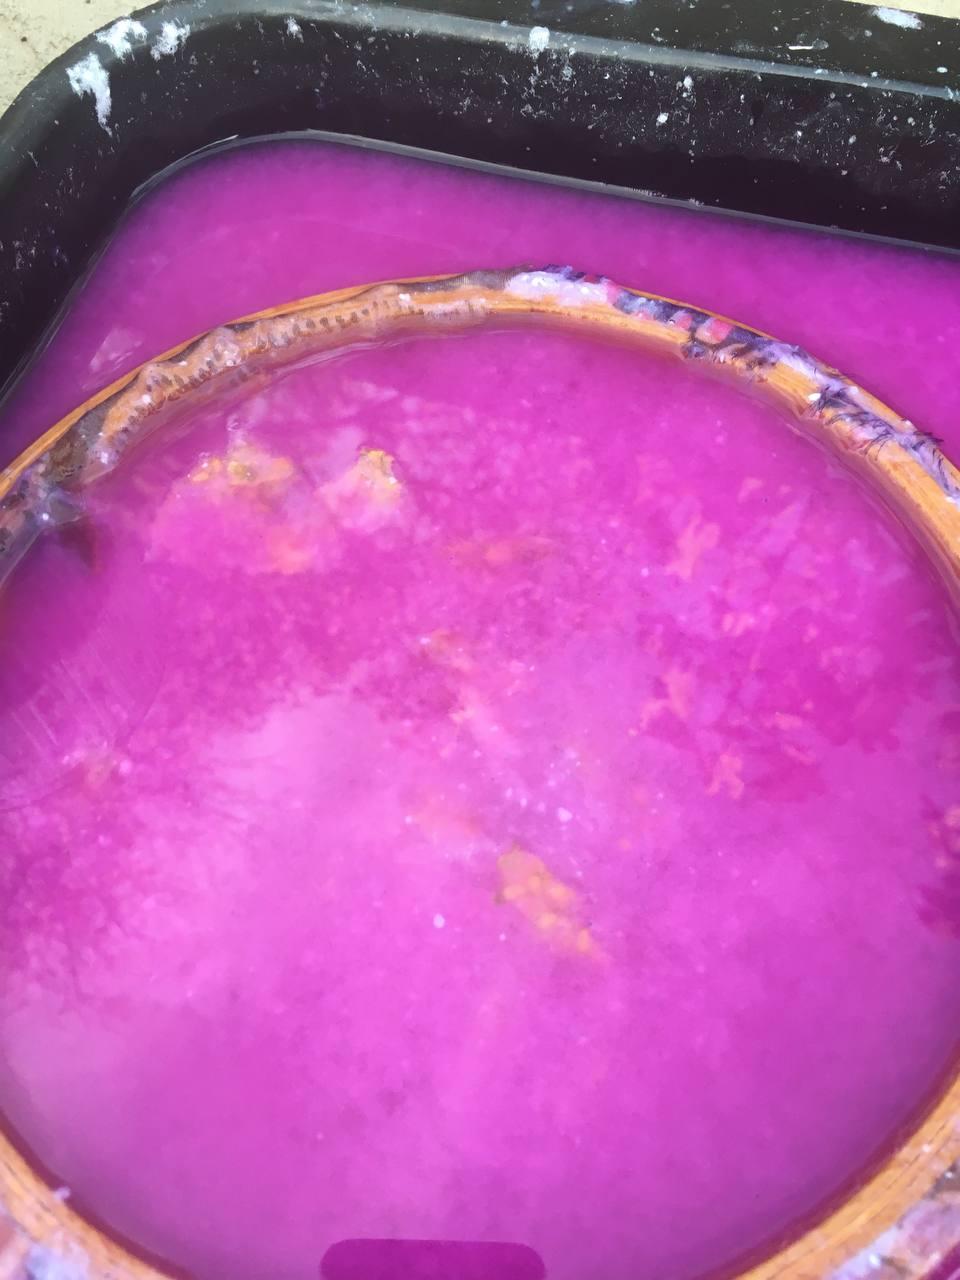
- Drain, then place the soaked paper into the blender and fill the blender with fresh water: You want the ratio to be 1 part paper to 2 parts water. Blend until the mixture is soupy. Add the food coloring, if you’re using it, and blend some more. (I used the juice of a red beet. It only colored the water, not so much the paper pulp. Later I threw in the whole beet in the blender with the paper. Now I have paper with beet bits in it. It looks cool for now but I worry it might mold… To be continued…)
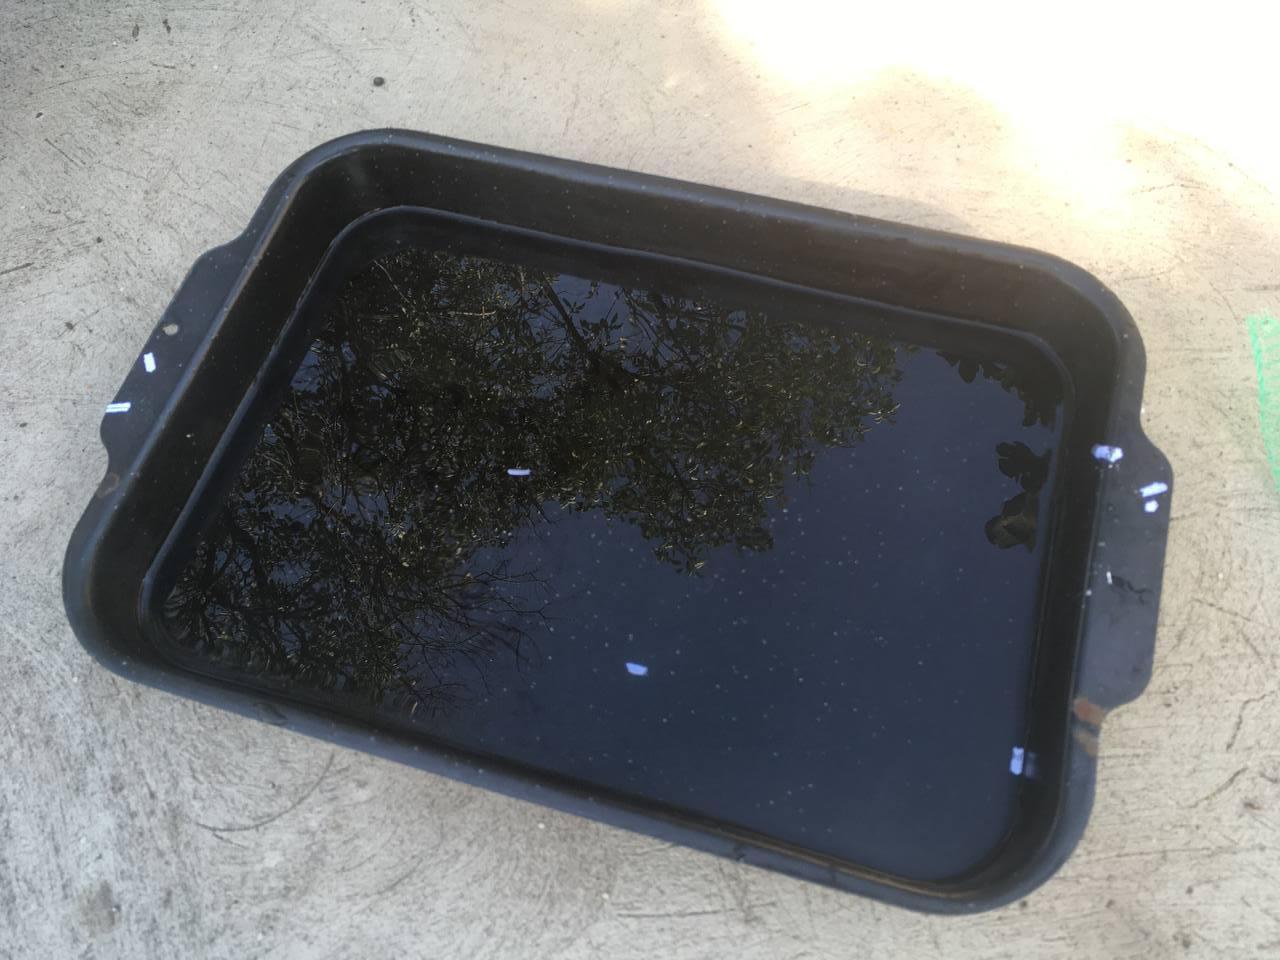
- Fill the wide, shallow container with a little bit of water, about half a finger deep. Pour the blended paper mush (a.k.a. pulp) on top.
- Slip your papermaking frame /embroidery hoop into the water diagonally, so you slip it under the pulp floating at the surface. Swoosh your frame from side to side, as the pulp accumulated in your frame. If necessary, spoon some of the pulp over the screen. Lift the screen gently, catching the pulp mixture evenly on top and letting the water drain off. You want an even, thin layer of pulp in your frame. Extra pulp stays in the tray for the second round.
- Lay the screen on a bath towel to drain.
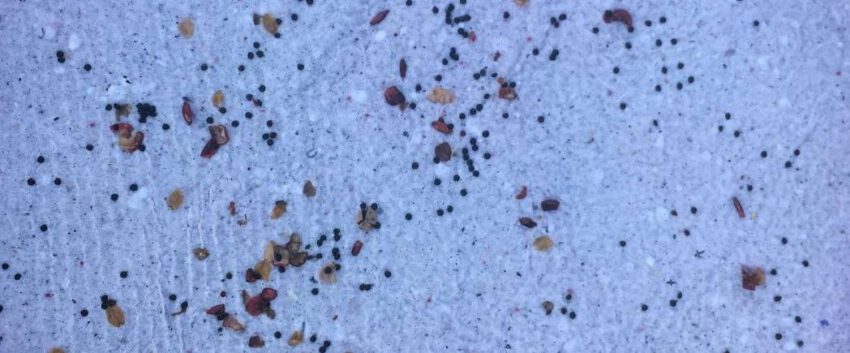
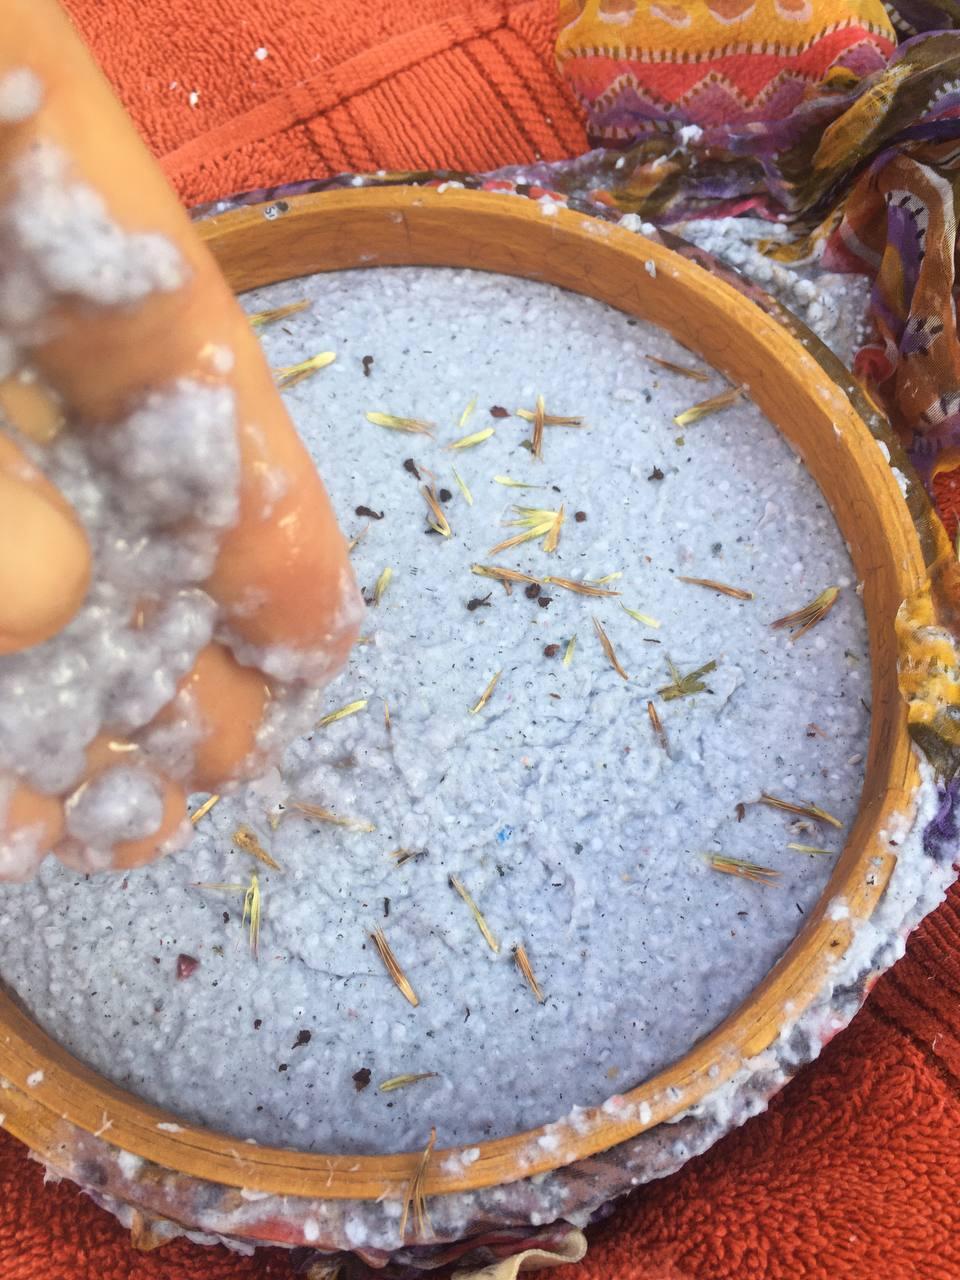
- Sprinkle some seeds on top of the drying pulp, and gently press them into the surface of the pulp. Pressing a towel on top also helps the water drain. If your seeds need extra fastening, you can dribble some extra pulp on top of the seeds using your hands and let drain again or press with a towel.
- When the towel has soaked up as much water as it can (be patient), pick up the hoop and flip it over onto a sheet of waxed paper to dry. It could be that you have to gently bang the hoop on the table surface to loosen the pulp from your frame. Maybe do 2 practice rounds without seeds to get the gang of it. If the pulp does not stick together, try putting more pulp on the screen next time.
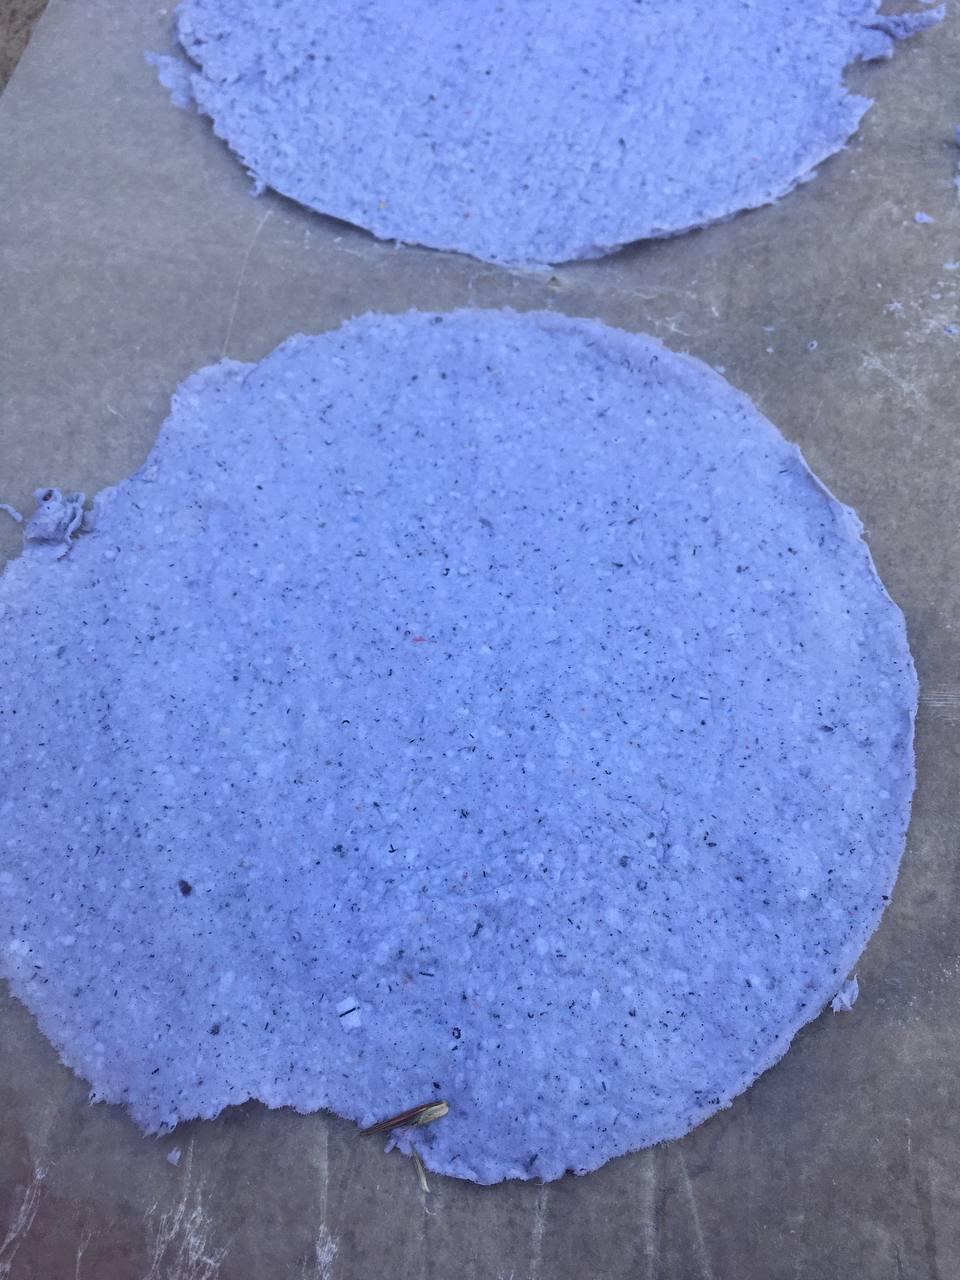
- Let the paper dry for at least 24 hours. If the paper does not lie flat, you can place a heavy book on it for a few hours to flatten it. Make sure not to get your book wet though.
- When your Paper is dried, you can cut it into the shape you want (like a heart), and write your love note. As the paper will be a bit bumpy, I recommend magic markers that do not bleed for writing. Or a very soft (for sketching) pencil. And then your card is ready to to give away.
- The cut offs from your paper can be hole-punched or cut into confetti. Put them in a little bag and you have a quick gift or a very cool contribution to an outdoor party.
Alternative Instructions For Those Without a Papermaking Frame
If you are unable to create a papermaking frame, you can use your hands. It helps if you give the paper an extra thorough blending, to equal out the lumpiness of this less refined method of paper making.
From Step 5:
- Grab handfuls of the pulp out of the tray and squeeze out as much water as you can. Also get rid of any large chunks. Add the seeds to the squeezed pulp and mix them in (not in the blender!).
- Place the pulp on your parchment paper and press it flat and a thin as you can without creating holes in your paper.
- You can use your hands to pre-shape your paper into a heart-shape, or use cookie cutters or something similar (larger! ginger bread heart shape would be cool) to shape your card while still wet.
- Use a paper towel or the bath towel to drain as much water as you can by pressing it on top of your flattened pulp.
Continue at step 9.
Planting the Paper
Once your valentine has read the love note, have them lay it on the surface of the soil and sprinkle a thin layer of soil on top (or as much as needed depending on what seeds you chose). Water the soil lightly and keep the seeds wet until they sprout and have a few days to grow roots.
Which Seeds To Use
The seed you choose depend first and foremost on availability. But also you should make sure the seeds are as small or flat as possible, so you don’t have unnecessary lumps in your paper later, which make writing on it difficult. It is also worth considering how easily and quickly the seeds sprout after planting. Finally, you can consider the personal preferences of your valentine.
Here are some Suggestions:
- Regional wildflowers – Makes a nice colorful mix, something in this diversity will definitely sprout. If you buy a sachet, fish out the seeds that may be too big first.
- Poppy seeds – They are tiny, round and black, so they don’t make lumps, and if seen, they are neutral looking. Also a love note that sprouts into rich red flowers – very romantic. It could be somewhat tricky to sprout them.
- Celosia or Rudbekia – These are just some flowers that work well for this project, are relatively easy to find at a garden shop, and they are pretty.
- Italian herbs – Basil, thyme, sage, rosemary… small seeds, nice combination, relatively slow initial growth and they might after a week. You could try rocket for good chances of successful growth. Heck, throw in some tomato seeds too!
- Cress or Alfalfa – Play it safe. And practical. If these don’t sprout, and within a short time, I don’t know what will. You wont get beautiful romantic flowers but a nice and healthy garnish for your candle lit dinner.
- Chili – I had to add this as this is my choice for my partner. Seriously, this man has a problem. Addicted to the burn. The seeds are bigger, but flat so it works. But it will be a long time until we see a possible harvest.
WOW! Beautiful!